Installing a smart doorbell camera is a great way to enhance the security of your home. With the ability to see who’s at your door, receive alerts, and communicate directly through your doorbell, it's an essential device for modern homeowners. The best part? You can easily install it yourself without needing a professional. This guide will walk you through the steps of installing a smart doorbell camera and getting it up and running.
Before beginning the installation process, it's important to choose the right smart doorbell camera for your needs. Some popular options include brands like Ring, Nest Hello, and Arlo, all offering various features like HD video quality, night vision, two-way audio, and motion detection.
When choosing a model, consider the following:
Video Quality: Look for at least 1080p resolution for clear video.
Field of View: Choose a doorbell with a wide viewing angle to capture a larger area.
Connectivity: Ensure the camera supports Wi-Fi or Ethernet depending on your preference.
Installing a smart doorbell camera is relatively simple, but you’ll need a few basic tools to get started. Here’s what you’ll typically need:
Drill and drill bits
Screwdriver
Pencil for marking
Level
Tape measure
Smartphone for app setup
If you're replacing an existing wired doorbell with a smart doorbell, the first thing you need to do is turn off the power at the breaker. This step ensures your safety during the installation process. After turning off the power, remove the existing doorbell unit.
Use a pencil and level to mark where you want to install the smart doorbell. A good rule of thumb is to place the doorbell around 4 feet off the ground to get the best view of visitors. Make sure the area you choose is within range of your Wi-Fi signal if your device uses Wi-Fi.
Most smart doorbell cameras come with a mounting bracket that needs to be installed before attaching the doorbell unit itself. Use a drill to create holes where you’ve marked the placement. Then, use screws to secure the mounting bracket in place. Make sure the bracket is level to ensure the camera sits properly.
If you’re installing a wired smart doorbell, now is the time to connect the wires to the doorbell’s terminals. For a wireless model, you’ll skip this step and proceed to the next.
For wired models:
Connect the existing doorbell wires to the terminals on the back of the camera.
Tighten the screws to ensure a secure connection.
For wireless models:
Insert the batteries (if applicable) or make sure the device is fully charged before mounting it.
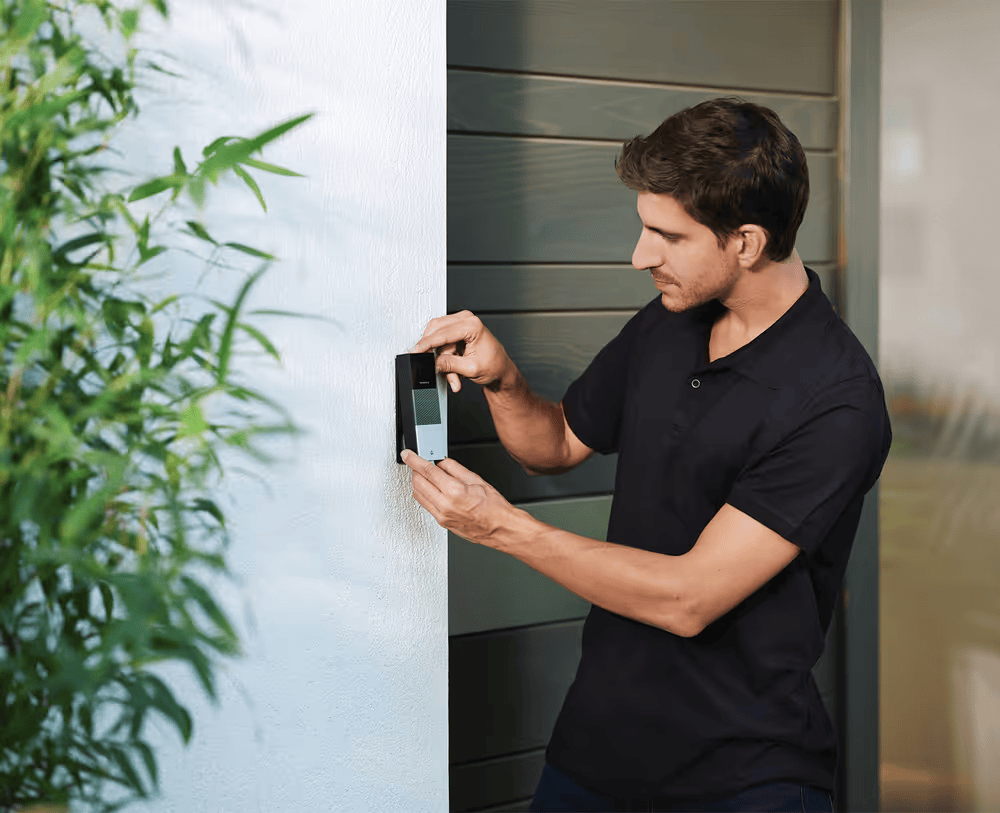
Once the mounting bracket is installed, attach your smart doorbell camera to the bracket. This process will vary by model, but generally, you’ll need to snap the doorbell camera into place or secure it with screws.
Now it’s time to set up the device. Follow these steps:
Download the app that corresponds to your doorbell camera (Ring, Nest, Arlo, etc.).
Create an account or log in if you already have one.
Follow the instructions in the app to connect the doorbell to your Wi-Fi network.
Test the camera’s live feed on your smartphone to ensure it’s working correctly.
Once everything is connected, test the camera’s features to ensure they are working correctly. Check the video feed, audio functionality, and motion detection. Adjust the settings in the app if necessary to improve video quality or the range of motion detection.
If you were installing a wired model, turn the power back on at the breaker and check to ensure the doorbell is working. If needed, adjust the camera angle or settings for optimal performance.
Once the installation is complete, you can enjoy the added security of a smart doorbell camera. You’ll be able to see who’s at your door, receive notifications, and even communicate with visitors directly through the camera.
Installing a smart doorbell camera is a simple and effective way to enhance the security of your home. With the right tools, a bit of preparation, and following these steps, you can have your new device set up in no time. Whether you choose a wireless or wired model, smart doorbell cameras are an affordable way to increase safety and convenience.

Comments